Record Your DESKTOP SCREEN
With VLC Media Player

VLC media player (commonly known as VLC) is a portable, free and open-source, cross-platform media player and streaming media server written by the VideoLAN project. VLC is available for desktop operating systems and mobile platforms, such as Windows 10 Mobile, Windows Phone, Android, iPad, iPhone, and iPod Touch. VLC is also available on App stores such as Apple's App Store and Microsoft Windows Windows Store.
VLC media player supports many audio and video compression methods and file formats, including DVD-Video, video CD and streaming protocols. It is able to stream media over computer networks and to transcode multimedia files.
The default distribution of VLC includes a large number of free decoding and encoding libraries, avoiding the need for finding/calibrating proprietary plugins. The libavcodec library from the FFmpeg project provides many of VLC's codecs, but the player mainly uses its own muxers, and demuxers. It also has its own protocol implementations. It also gained distinction as the first player to support playback of encrypted DVDs on Linux and OS X by using the libdvdcss DVD decryption library.
And , Today , I am going show you how to capture/record your Desktop sreen with vlc media player.. Here , is the step by step guide..
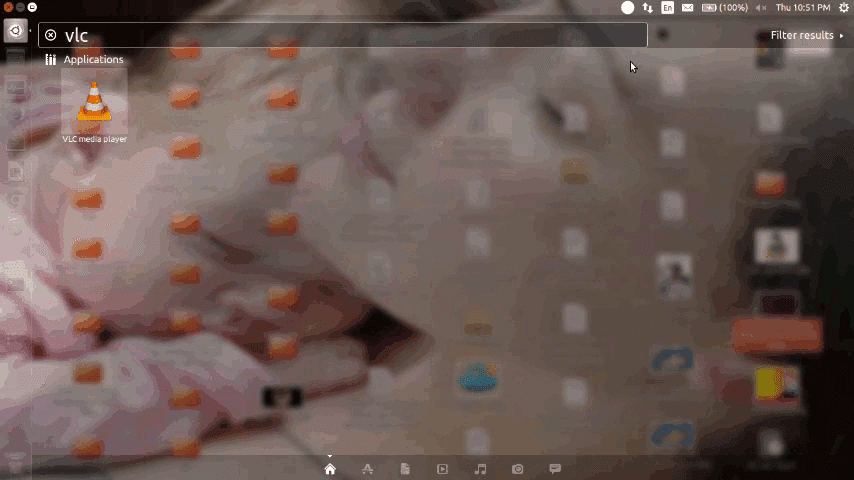
Step 1 :
Open VLC media player
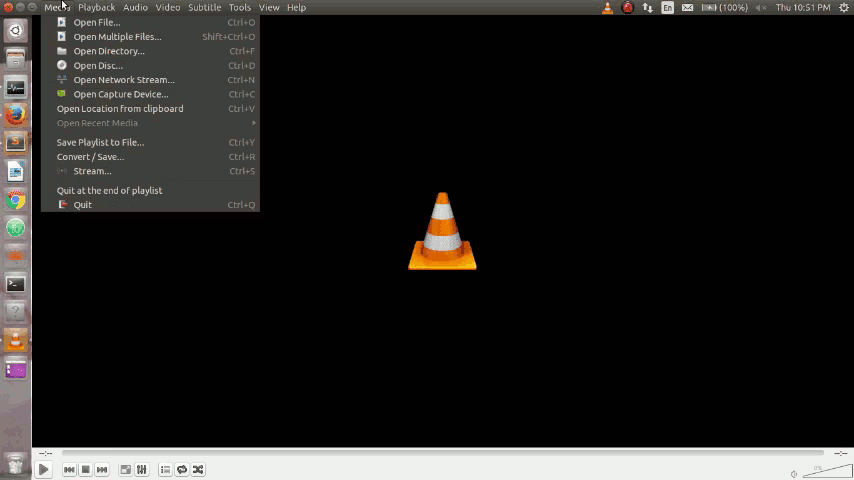
Step 2 :
Then , go to "MEDIA"
Open VLC Media player --> "MEDIA"
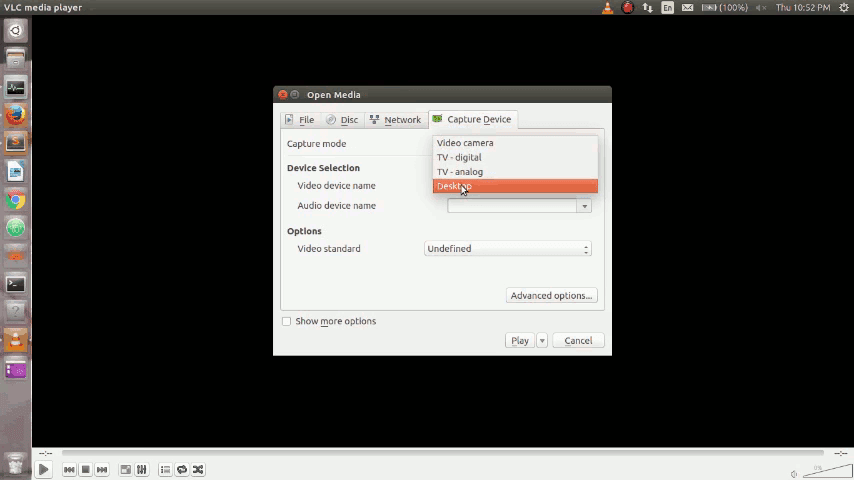
Step 3 :
select "CAPTURE DEVICE" tab..
Open VLC Media player --> "MEDIA" --> "CAPTURE DEVICE"

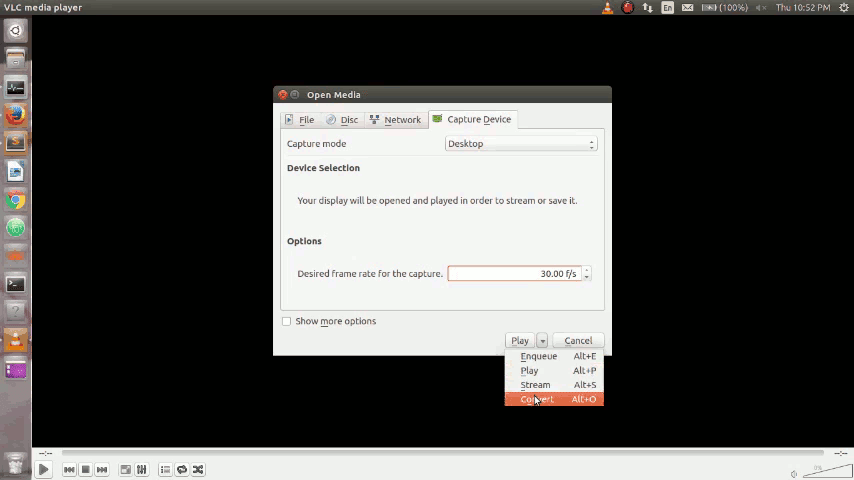
Step 4 :
Change capture mode to DESKTOP
Cpture Mode ==> DESKTOP
Step 5 :
Change Options to 30 f/s

Step 6 :
Choose CONVERT option instead of play option
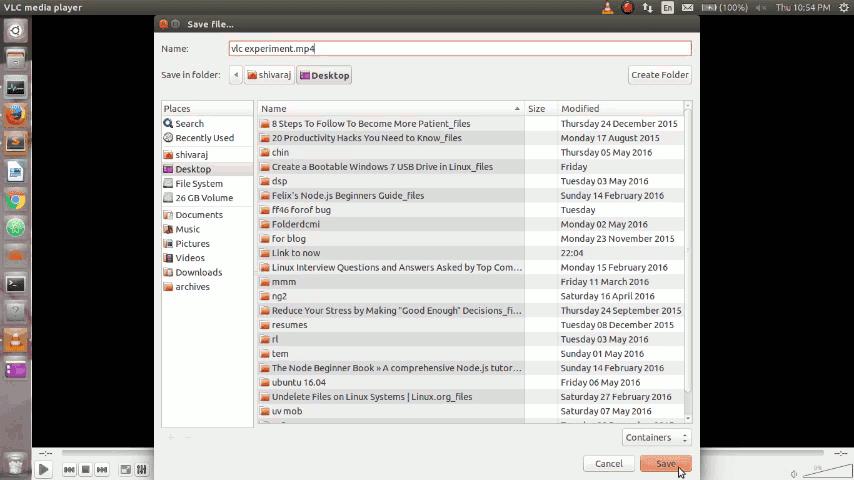
Step 7 :
In the Convert window add the destination file via the BROWSE button then name the file TEST.MPG (VLC does require the extension so the file becomes TEST.MPG rather than just TEST) and click save button
If you want to change video format , you can do that throuh profile option. for example if you want to change video to mp4 format .. you can change that in profile options.. and you have to append .mp4 while naming your video file.

Step 8 :
Click START (Optional :Choose the DEINTERLACE option)

Step 9 :
If you have completed recording .. then.. press "STOP Playback" button. that's it..

Friends.. Dont Forget To Share It With Friends.. Have A Nice Day ☻